Start with a Forensic Assessment, Not a Shopping List
Before picking paint colors or new flooring, restoration begins with understanding exactly what went wrong, where, and why. Professionals treat the first phase like an investigation, not a remodel.
Begin with a whole-house walkthrough focused on structure, safety, and moisture. Look for sagging floors, cracked foundations, bulging walls, roof leaks, staining on ceilings, musty odors, or spongy drywall. Use a moisture meter on suspect areas (around windows, under sinks, near basements and crawlspaces) to identify hidden water intrusion. Document everything with photos and notes—especially locations of damage, utilities, and existing materials worth saving.
Bring in specialists early when warranted: a structural engineer for foundation or framing concerns, a licensed electrician if wiring looks outdated or damaged, and a certified mold or water-damage professional for suspected contamination. Pull past permits if available to understand previous work. This “forensic” mindset lays the foundation for every decision that follows: what to remove, what to restore, and what must be rebuilt to current standards rather than past shortcuts.
Tip 1: Stabilize the Structure and Environment Before Cosmetic Work
Professionals never start with finishes; they start with stabilization. That means making the home structurally sound and environmentally safe before touching any cosmetic upgrades.
If there is ongoing water intrusion (leaky roof, failing flashing, poor grading, clogged gutters), address that first to prevent new materials from being destroyed. In cases of fire or major water damage, temporary shoring, tarping, or board-ups may be necessary to prevent collapse or additional exposure. Check framing around chimneys, stair openings, and load-bearing walls—any compromised members should be repaired or replaced in accordance with local building codes and, where needed, an engineer’s design.
Environmental stabilization is just as critical. Thoroughly dry the structure using dehumidifiers and fans if there’s been water damage; trapped moisture invites mold, wood rot, and failed finishes. Remove all unsalvageable porous materials, like saturated insulation and crumbling drywall, to allow cavities to dry. If there are suspected contaminants—asbestos, lead paint, or extensive mold—pause and hire qualified remediation contractors. Only when the structure is dry, sound, and safe should you start rebuilding. This sequence prevents the most expensive form of rework: tearing out new finishes to fix overlooked foundational problems.
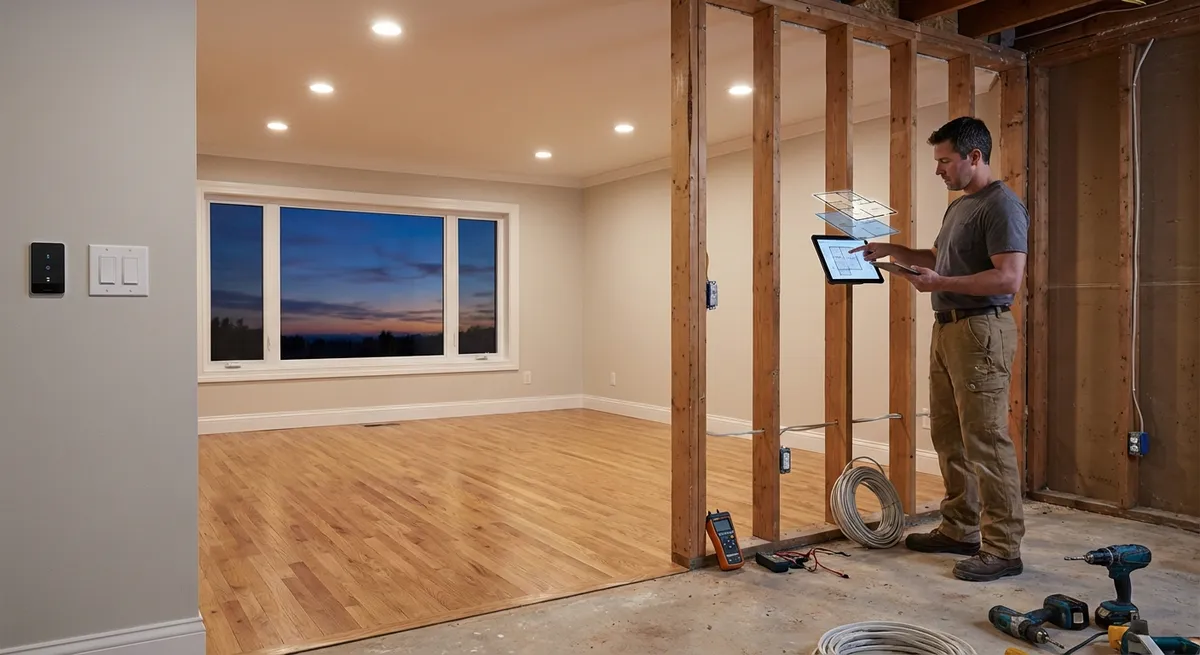
Tip 2: Prioritize Systems and Infrastructure Over Surfaces
Experienced restorers know that the least glamorous parts of a project—wiring, plumbing, HVAC, and insulation—are the most important. Once walls and ceilings are open, it’s your best and often only economical chance to modernize the home’s infrastructure.
Evaluate the electrical system for capacity and safety. Knob-and-tube wiring, aluminum branch wiring, or heavily overloaded breaker panels may not meet today’s demands or codes. Upgrading now supports modern appliances, additional circuits for home offices, and critical safety measures like arc-fault and ground-fault protection. Similarly, inspect plumbing for outdated materials (e.g., galvanized steel or polybutylene) and chronic leaks. Replacing old supply lines and drain-waste-vent (DWV) runs during restoration can prevent catastrophic failures later.
HVAC systems deserve the same scrutiny. Restoration is an ideal time to correct poorly routed ductwork, add returns for better airflow, or upgrade to more efficient equipment. Don’t overlook air sealing and insulation, especially in attics, basements, and around penetrations—these measures dramatically improve comfort and energy performance. Professional projects build from the “inside out”: secure and upgrade what you can’t see before investing in what you will see. The payoff is a home that not only looks restored but functions like a high-performing, modern building.
Tip 3: Respect Original Fabric While Upgrading for Longevity
Restoration doesn’t mean replicating the past at any cost, nor does it mean erasing it with generic replacements. The goal is to preserve original character where it makes sense, while strategically upgrading for durability, safety, and efficiency.
Identify architectural elements that define the home’s character: original wood floors, built-ins, trim profiles, plaster details, solid-core doors, stair railings, or historic windows. Much of this can be repaired rather than replaced. For example, cupped or scratched wood floors can often be sanded and refinished; loose trim can be re-secured and stripped instead of discarded. Original doors can be fitted with new hardware and weatherstripping for better performance. When you do replace, document original profiles and proportions so new work feels consistent rather than “almost right.”
At the same time, don’t romanticize materials that are unsafe or failing. Lead-based paint, brittle wiring, crumbling masonry, or structurally unsound framing should be brought up to current standards. Where energy performance is a concern—such as drafty single-pane windows—consider restoration plus discreet improvements: interior storm windows, careful weatherstripping, or selective replacement only where units are beyond repair. The professional mindset is to treat every original element as an asset to be evaluated, not a default to be removed or preserved blindly.
Tip 4: Sequence Trades Like a General Contractor
Many DIYers and even some inexperienced contractors underestimate how much project success depends on sequencing. Restoration work frequently involves multiple trades overlapping in tight spaces, often around partially preserved finishes. Professionals manage this choreography with precision to avoid damage, delays, and cost overruns.
Create a detailed work sequence from demolition through final touch-ups. Typically, that looks like: selective demo; structural repairs; rough plumbing, electrical, and HVAC; inspections; insulation; drywall or plaster; priming; trim and millwork; final painting; flooring; fixtures and hardware; and final inspection. Within this sequence, schedule trades so they don’t undo each other’s work—for example, avoid having flooring installed before messy ceiling repairs, or painting done before electrical trim-out that will scuff walls.
In restoration, selective demolition is especially critical. Mark all areas to be saved before anyone swings a hammer. Remove finishes surgically around preserved elements so supporting structure can be accessed without destroying original features. Protect floors, staircases, and surviving fixtures with appropriate coverings throughout. Communicate clearly with every trade about what is being preserved and what is expendable; written scopes and site walk-throughs help prevent misunderstandings that can ruin irreplaceable details. A thoughtful sequence and clear coordination are what make complex restorations feel controlled instead of chaotic.
Tip 5: Plan for Documentation, Maintenance, and Future Adaptability
A well-restored home doesn’t just look good the day the crew leaves—it’s easier to maintain, adapt, and troubleshoot for years to come. Professionals think about the life of the building beyond this project and build a paper (and digital) trail.
As work progresses, photograph framing, insulation, and rough-in locations before they’re covered. Label photos by room and wall orientation (e.g., “Kitchen, north wall, plumbing stack and electrical runs”). Keep copies of permits, inspection reports, material specifications, appliance manuals, and finish schedules in a dedicated home binder or digital folder. This documentation saves time and money when future repairs, upgrades, or sales occur.
Design details with serviceability in mind. Provide access panels for critical shut-offs, valves, and junctions where codes allow. Avoid burying junction boxes or abandon-in-place wiring. Consider future needs—aging in place, potential basement finishing, solar readiness, or EV charger installation—and add conduit, blocking, or extra capacity now where inexpensive, even if you won’t use it immediately. Finally, create a maintenance plan tied to your restored components: roof inspections, caulking checks, HVAC filter changes, and exterior repaint cycles. Restoration is not a one-time event but the start of a more predictable, manageable lifecycle for your home.
Conclusion
High-quality home restoration is far more than “new finishes on old bones.” It’s a disciplined process: investigating the underlying problems, stabilizing structure and environment, upgrading critical systems, preserving character thoughtfully, and sequencing trades with precision. When you approach restoration like a pro—starting with a forensic assessment and ending with thorough documentation—you transform a damaged or outdated house into a durable, efficient, and character-rich home. The visible results may be beautiful, but the real success lies in everything you planned, inspected, and coordinated behind the walls.
Sources
- [U.S. Department of Housing and Urban Development – Residential Rehabilitation Inspection Guide (PDF)](https://www.hud.gov/sites/documents/REHABGUIDE_INSPECTIONS.PDF) - Detailed guidance on inspecting and planning residential rehabilitation projects
- [Federal Emergency Management Agency (FEMA) – “Repairing Your Flooded Home”](https://www.fema.gov/sites/default/files/2020-07/fema_repairing-your-flooded-home_06-2019.pdf) - Best practices for drying, cleaning, and rebuilding after water damage
- [U.S. Department of Energy – Energy Saver: Home Weatherization](https://www.energy.gov/energysaver/weatherize) - Technical information on improving insulation, air sealing, and building performance during restoration
- [National Park Service – Technical Preservation Services](https://www.nps.gov/tps/how-to-preserve/index.htm) - Professional standards and methods for preserving and rehabilitating historic building materials and features
- [National Association of Home Builders – Home Remodeling & Renovation](https://www.nahb.org/consumers/remodeling) - Industry perspectives on planning, sequencing, and managing home renovation and restoration projects